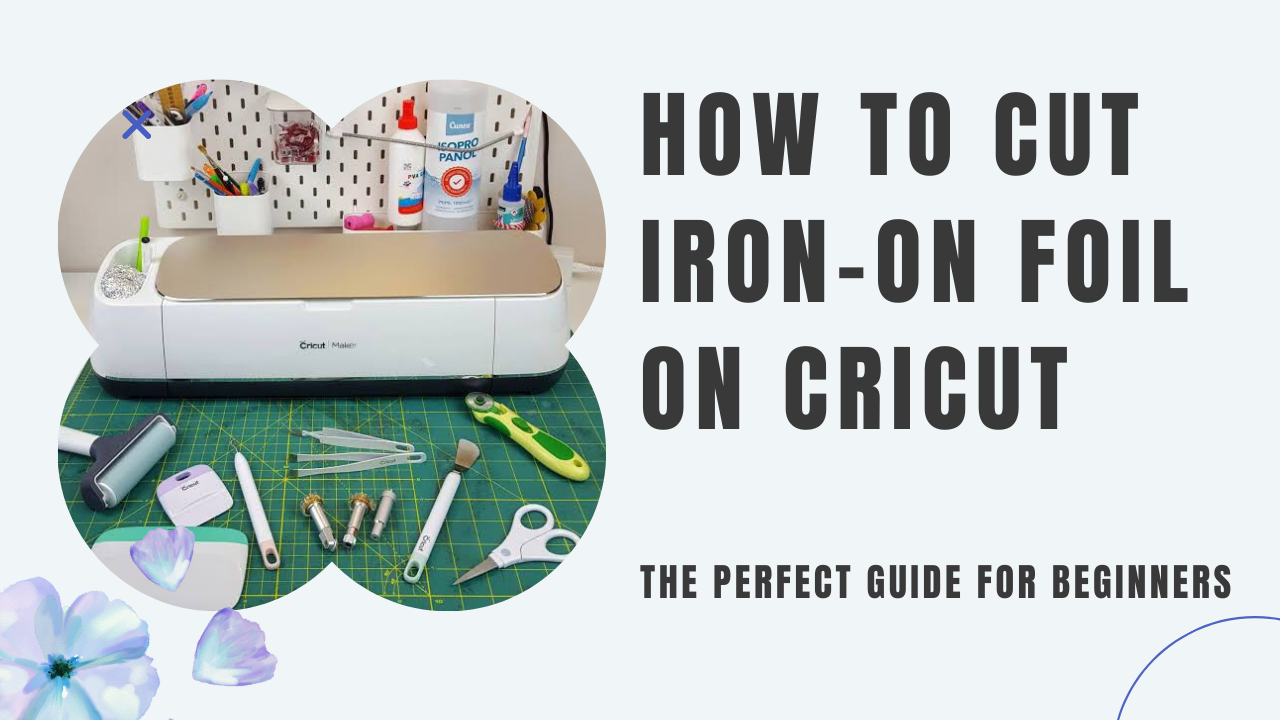
Do you want to learn how to cut iron-on foil on Cricut? If so, you have come to the right place! In this blog post, we will teach you everything you need to know about cutting this type of foil on your Cricut machine. We will provide a step-by-step guide that is perfect for beginners. So, whether you are a beginner or an experienced Cricut user, you will be able to follow these instructions and successfully cut iron-on foil. Let’s get started!
Cut a piece of iron-on foil that is slightly larger than the design you want to use
Iron-on foil is a great way to add a bit of sparkle to any fabric project. Whether you’re creating a stenciled design or want to add some extra pizzazz to a plain shirt, iron-on foil is a simple and effective way. The first step is to cut a piece of foil that is slightly larger than the design you want to use. This will help ensure that the entire structure is covered with foil. Next, position the foil on the fabric and iron it in place. Be sure to use a pressing cloth between the iron and the foil to prevent damage. Finally, peel away the backing paper and enjoy your new shimmery creation!
Weed the design using your Cricut cutting machine and a weeding tool
If you’ve ever used a Cricut cutting machine, you know that one of the most tedious parts of the process is weeding the design. But with a bit of patience and the right tools, it doesn’t have to be a pain. First, make sure you have a sharp weeding tool. Then, start in the middle of the design and work your way out. Be extra careful with small details and pointed shapes. Once you’ve weed the entire structure, go back over it to ensure you didn’t miss anything. If all goes well, you should have a clean design ready to be applied to your project.
Place the iron-on foil on top of the fabric you want to apply it to
Applying iron-on foil is a quick and easy way to add a touch of glamour to any fabric. Place the foil on top of the fabric, then use a hot iron to press it into place. The heat from the iron will cause the foil to adhere to the fabric, creating a permanent bond. Use a medium heat setting and apply firm pressure while you iron for the best results. You can also use an ironing board to protect your work surface. Once you’ve applied the foil, allow it to cool completely before handling it.
Iron over the entire design, making sure to press down firmly
Once you’ve got your design transferred onto your fabric, it’s time to start ironing. You’ll want to use a dry iron with no steam for this step. Please set it to medium-high heat and begin ironing over the entire design, pressing down firmly. You may need to go over some areas multiple times to ensure the lines are nice and crisp. If you’re finding that the iron isn’t making much of an impression, you can try using a piece of wax paper or a thin cotton cloth between the iron and the fabric. Once you’re happy with the results, give the design a final once-over with the iron and let it cool completely before moving on to the next step.
Let cool, and then remove the backing paper.
When you’re done ironing, it’s essential to let the fabric cool before you remove the backing paper. If you try to remove it while the fabric is still warm, you risk damaging the design. Once the fabric has cooled, slowly peel back the paper until the entire structure is revealed. If any parts of the invention are still stuck to the report, lay the piece back down and press it with your iron for a few more seconds. With patience, you’ll have a beautiful and long-lasting iron-on transfer.
Enjoy your new iron-on foil creation!
FAQs How to Cut Iron-On Foil on Cricut
Have you ever wondered how to cut those pesky sheets of iron-on foil with your Cricut? You’re not alone! It’s a common question and one that we get asked all the time. Luckily, it’s not as difficult as it may seem. Here are a few frequently asked questions that will help you get started:
What kind of blade do I need?
Any sharp blade will work, but we recommend using a new fine-point knife for best results.
Can I use any cutting blade to cut iron-on foil?
No, you’ll need to use a specialized cutting blade for foil. This is because regular cutting blades are not sharp enough to cut through the foil’s protective backing. As a result, they will quickly become dull and may even damage your machine.

How do I set up my machine?
For best results, we recommend mirroring your design before cutting. This will ensure that the design cuts through the foil correctly.
What settings should I use?
When cutting iron-on foil with a Cricut machine, you should use the following settings: Material Type: Iron-On Foil, Blade Type: Premium Fine Point Blade, Cutting Pressure: Medium, and Speed: Slow. These settings will ensure that your iron-on foil is cut correctly and that the design is transferred onto your project perfectly.
Can I use a different type of adhesive vinyl?
No, we only recommend using iron-on foil with the Cricut. Any other type of adhesive vinyl will not work and may damage your machine.
What is the best way to weed iron-on foil?
We recommend using a weeding hook or a pair of tweezers. Start by peeling away the excess vinyl from around your design. Then, use the weeding hook or tweezers to remove any small vinyl pieces left behind.
What type of mat should I use?
When cutting iron-on foil with a Cricut machine, it is recommended that you use a standard grip mat. This type of mat has a good grip and will hold the foil in place while cutting it. If you do not have a traditional grip mat, you can use another type of mat, but your results may not be as good.
Can I reuse iron-on foil?
Yes, you can reuse the iron-on foil. However, it is essential to note that the design will not be as crisp and clean as the first time you used it. If you are looking for a perfect design, it is best to use new iron-on foil.
Is there anything else I need to know?
Yes! Before cutting, mirror your design and place the iron-on foil shiny side down on your mat.
So there you have it – our complete guide to cutting iron-on foil on the Cricut! We hope this was helpful and that you are now feeling confident enough to give it a try. If you come across any problems or have any questions, feel free to contact us, and we’ll be happy to help. Happy crafting!
