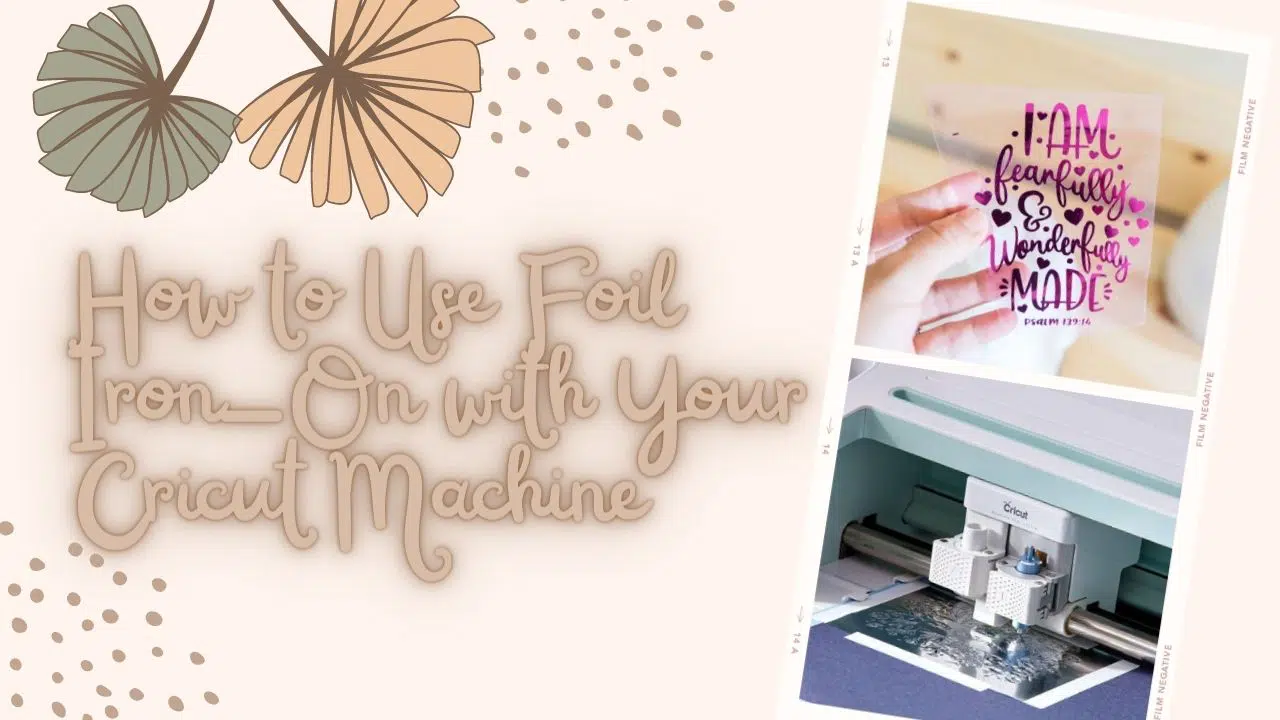
If you’re looking for a way to add some extra bling to your Cricut projects, then foil iron-on is the perfect solution! It’s easy to use, and it can create stunning results. This blog post will show you how to use foil iron-on with your Cricut machine. We’ll also provide a few tips on how to get the best results. Let’s get started!
What is foil iron-on, and what can you make with it
Have you ever seen someone with a cool shirt with an iron-on design and wondered how it was made? Well, the process is quite simple. First, you need to purchase some foil iron-on material. This can be found at most craft stores. Once you have the material, you will need to create your design. This can be done using a pencil and paper or a computer program. Once you have your design, it’s time to iron it onto your shirt. First, place the foil on the shirt where you want the design to go. Then, put a piece of parchment paper over the top of the foil. Next, use a hot iron to press down on the parchment paper. Be sure to apply pressure evenly over the entire design. Finally, remove the parchment paper, and voila! You’ve just made your very own foil iron-on shirt.

How to cut foil iron-on with your Cricut machine
So, you’ve got your new Cricut machine, and you’re ready to start crafting. One of the first things you’ll want to learn how to do is cut foil iron-on with your Cricut. Here’s a step-by-step guide to help you get started.
First, gather your supplies. You’ll need a piece of foil iron-on, your Cricut machine, and a cutting mat. Make sure your cutting mat is correctly positioned before you begin.
Next, select the design you want to cut from the Cricut library. If you’re not sure how to do this, consult your machine’s user manual. Once you’ve found the perfect design, click on “Cut.”
Your Cricut will then cut the design out of the foil iron-on. Depending on the size and complexity of the design, this may take a few minutes. Once the cutting is complete, carefully remove the excess foil from around the design.
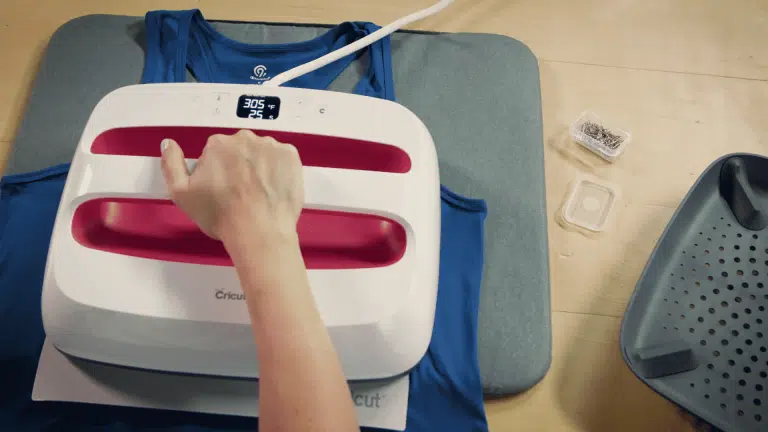
Finally, position the foil iron-on on your desired project surface and secure it. Then, follow the instructions included with your Cricut machine to apply heat and bond the two pieces together.

- Suitable for home interiors art works
- Acid Free
- Designed for easy usage

- Provo Craft-Cricut Foil Iron On Sampler
- Bejeweled -Iron On Sampler
- Manufactured in China
- Cricut Foil Iron-On Sampler 12"X12" 4/Package-Bejeweled

- Easily adheres to most materials to reveal a glorious, reflective finish
- Ideal for on-trend decor accents, custom fashion and accessories, or anything that needs some bling
- Cuts beautifully and weeds easily
- For all Cricut cutting machines
How to apply foil iron-on to fabric
In addition to shirts, you can also use foil iron-on to add a touch of glamour to any fabric project. Here’s how to do it.
First, select the fabric you want to use and cut it to the desired size. Next, position the foil iron-on on the fabric and secure it. Once again, consult your Cricut machine’s user manual for specific instructions.
Then, apply heat to the foil iron-on using your Cricut machine. Once the bonding is complete, carefully remove the excess foil from around the design. And that’s it! You’ve just added a touch of luxury to any fabric project.
Tips for working with foil iron-on
Foil iron-on is a great way to add a little extra something to your projects. Whether you’re looking for a bit of shimmer or a pop of color, foil iron-on can help you achieve the look you’re going for. Here are a few tips for working with foil iron-on:
- Make sure your fabric is clean and dry before you begin. Any dirt or moisture will prevent the foil from adhering correctly.
- Cut your design out of the foil, then position it on your fabric. Use parchment paper or a Teflon sheet to protect your work surface.
- Set your iron to the hottest setting appropriate for your fabric, then place the parchment paper or Teflon sheet over the top of your design. Slowly run the iron over the surface, careful not to overheat the foil.
- Allow the design to cool completely before handling it. Once it’s cool, you can peel away the parchment paper or Teflon sheet.
- If necessary, you can trim away any excess foil with sharp scissors.
Projects that you can make with foil iron-on
Iron-on foil is a great way to add extra pizzazz to any project. Whether you’re looking to add some sparkle to a clothing piece or want to decorate a plain notebook, iron-on foil is the perfect solution. And the best part is that it’s really easy to use! Just cut out the design you want, peel off the backing, and place it on the fabric or paper. Then, set your iron to the appropriate heat setting and lightly press down for 30-60 seconds. Voila! You’ve just added some extra personality to your project. So go ahead and experiment with different colors and patterns – the possibilities are endless!

Where to buy foil iron-on
You can find foil iron-on at most craft stores. I’ve seen it at Michael’s, Jo-Ann Fabrics, and Hobby Lobby. You can also find it online at websites like Amazon. The best thing about shopping online is that you can usually find a more comprehensive selection of colors and designs than in a brick-and-mortar store. You can also often find better prices online. When shopping for foil iron-on, be sure to pay attention to the size of the sheets. They usually come in A4 or letter size, but you can also find some that are larger or smaller. You’ll also want to make sure that the adhesive is suitable for the fabric you’re using it on. Some adhesives work better on certain materials than others. Finally, take a look at the design before you buy it. Make sure that it’s something you’ll be happy with once applied to your fabric. With a little bit of planning, you should be able to find the perfect foil iron-on for your project.
FAQs about foil iron-on
So you’re thinking about trying out some foil iron-on vinyl, eh? Well, you’ve come to the right place! This guide will answer all of your questions about this unique crafting material.
What is foil iron-on vinyl?
Fold iron-on vinyl is a type of heat transfer vinyl with a shiny metallic finish. It comes in various colors, including gold, silver, and bronze. Foil iron-on can add a touch of glamour to any project, from t-shirts to tote bags.
How do I use it?
Foil iron-on is applied just like any other type of heat transfer vinyl. First, cut out your design using a cutting machine and weed away the excess vinyl. Next, preheat your garment with iron and apply medium pressure for 20-30 seconds with household iron or Heat Press Machine. Be sure to use a protective sheet or pillowcase over top of the design to prevent damage to your iron. Finally, peel away the carrier sheet, and voila! You’ve successfully applied your foil iron-on method.
What are some tips for working with foil iron-on?
– Always use a cutting mat when cutting out your design. Foil iron-on can be very slippery, and you don’t want it to slide around while you’re trying to cut it.
– Use a Teflon sheet or parchment paper over your work surface to prevent damage to your iron.
– Be sure to mirror your design before cutting it out. Foil iron-on is applied face-down, so you’ll need to reverse your image before cutting.
– Take care not to overheat the foil. Too much heat can cause it to lose its metallic sheen.
– Allow the design to cool completely before handling it. Once it’s cool, the foil will permanently adhere to the fabric.
Conclusion
Foil iron-on is a great way to add a touch of glamour to any project. With a little bit of practice, you’ll be able to apply it like a pro! Be sure to use the tips and tricks in this guide to help you.