Are you having trouble ungrouping text on your Cricut? Don’t worry, and you’re not alone. This can be a tricky process, but we’re here to help! This step-by-step guide will show you how to ungroup text easily. So follow along, and you’ll have those troublesome letters sorted out in no time!
If you’ve ever used a Cricut machine, you know that it is capable of cutting intricate designs out of a variety of materials. The device relies on specially-formatted text files that dictate the cutting paths for each letter or shape to create those designs. However, there are times when it might be helpful to ungroup that text so that you can more easily edit it or rearrange the layout. Let’s take a look at how to do just that!
In the past, ungrouping text on Cricut was a difficult and time-consuming process. But with the new software update, it’s now easier than ever to ungroup text and separate it into individual letters. In this blog post, we’ll show you three different ways to ungroup text on Cricut. So whether you’re a beginner or an experienced user, you’ll be able to find the method that best suits your needs. Stay tuned for more tips and tricks from the Cricut team!
Method One: Ungrouping Text with the Cricut Design Space App
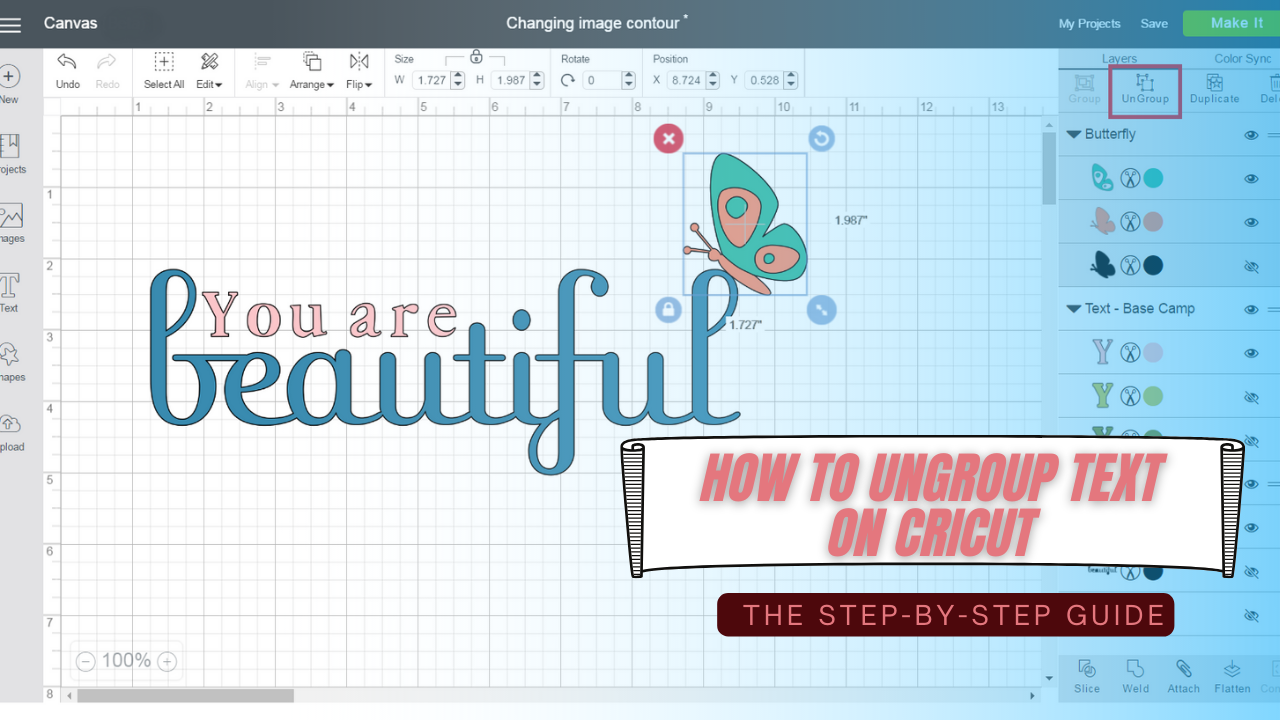
If you’re using the Cricut Design Space app, ungrouping text is a breeze. Simply select the text that you want to ungroup and click on the Ungroup button in the upper right-hand corner of the screen.
Once you’ve ungrouped your text, you can use it just like any other design element in the Design Space app. You can move individual letters around and even add new ones to them if needed!
Method Two: Ungrouping Text with an image editing program like Photoshop or Illustrator
If you’re using an image editing program such as Photoshop or Illustrator, the ungrouping text is a little more complicated. But with a little bit of practice, you’ll be able to do it in no time!
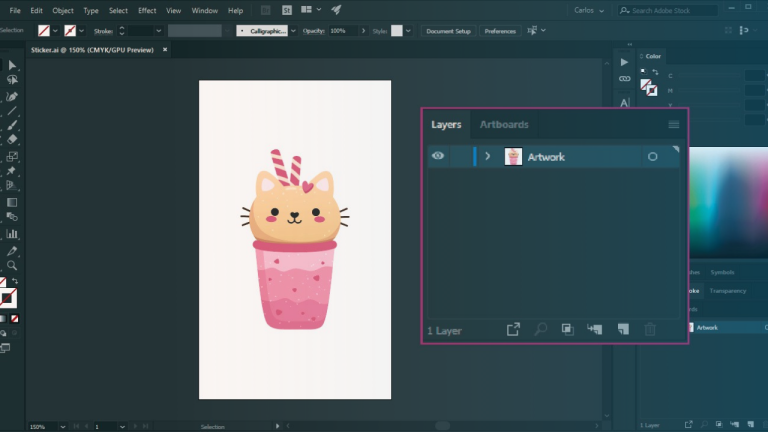
First, select the text you want to ungroup and copy it to your clipboard. Then open up Photoshop or Illustrator and create a new document. Paste the text into this document and drag it over to one side of the canvas so that only half of each letter is visible.
Next, click on the Layer menu at the top of your screen and choose Ungroup from there (or use Command+Shift+G). This will separate all letters into individual layers, which can be moved around independently! (You might have to zoom in on your image first before doing this step.)
Method Three: Ungrouping Text with the Cricut Maker Pen Tool
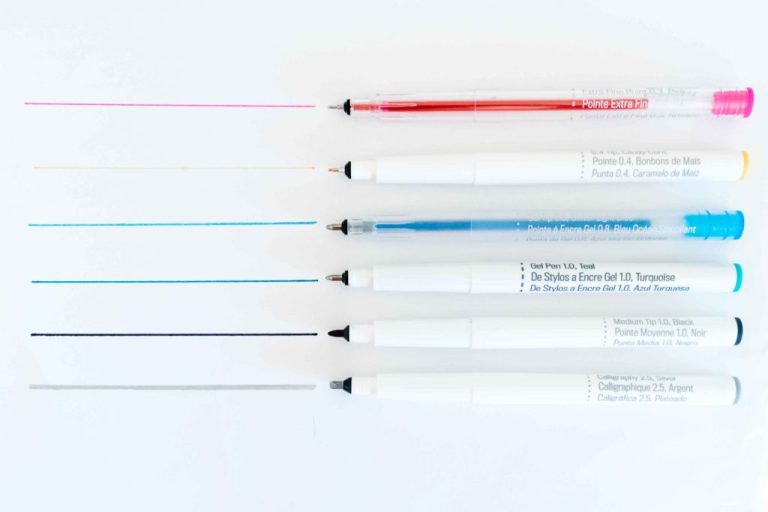
If you’re using the Cricut maker pen tool, ungrouping is easy. Simply select the text that you want to ungroup and click on it once – that’s it!
Once the text is ungrouped, you can move each letter around and even resize them if needed. The best part is that you don’t need any special software or design skills to do this – anyone can do it!
CuttleBug Machine
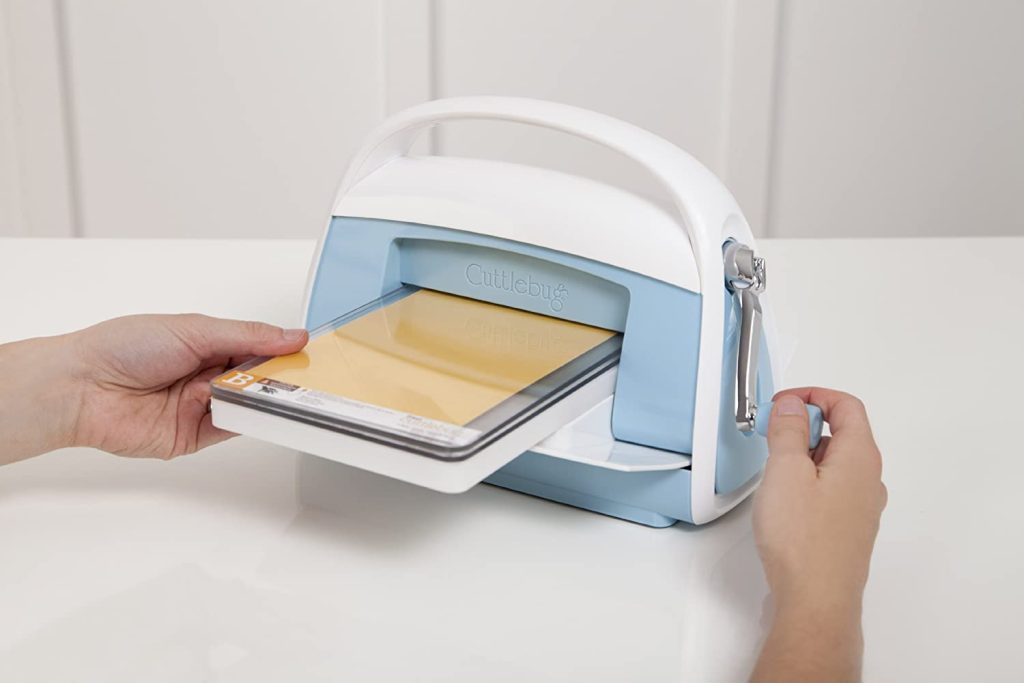
The Cuttlebug machine is a great tool for ungrouping text. It’s easy to use and can help you get the text exactly how you want it. Let’s hop into the details:
- First, you’ll need to gather the supplies that you’ll need for this project. You’ll need a Cuttlebug machine, some text dies, and an adhesive sheet.
- Next, you’ll want to cut out your text using the text dies. Make sure that you cut out all of the letters that you’ll need.
- Now, it’s time to ungroup the text. To do this, you’ll need to place the adhesive sheet on top of your text.
- Once the adhesive sheet is in place, you’ll need to put the Cuttlebug machine on top of the adhesive sheet.
- Next, you’ll need to turn on the Cuttlebug machine by pressing the button on top of it. Then, you’ll need to wait for the text to ungroup itself.
- After that, you can remove your Cuttlebug from the adhesive sheet! You did it! Your text is now ungrouped.
- After that, all you have to do is put your text in a new place and you’re done!
Now let us know some tips for keeping your cricut text organized and looking great!

- Use groups and ungroups sparingly. Too many will make your text look cluttered and messy.
- Keep your text aligned. Use the rulers and gridlines to help you keep everything straight.
- Be careful with your spacing. Make sure that each letter is spaced equally apart, and that there is enough space between each group of text.
- Use fonts that compliment each other. Not all fonts look good together, so be choosy!
- Experiment and have fun! The best way to learn is to try different things and see what looks good.
- If you are using a large block of text, consider breaking it up into chunks rather than using one large group of text. It will make your design easier to read and look more appealing.
- Keep it simple! Don’t overdo things or get too fancy with how you format your text because it may take away from the overall message that you want to convey.
Now that you know how to ungroup text on cricut, go out and experiment! See what works best for your project, and have fun with it! Thanks for reading!
