You are currently viewing How to Outline Text in Cricut Design Space

How to Outline Text in Cricut Design Space

Do you want to make your text pop on your next project? One easy way to do that is by outlining it. Outlining text can give it a more polished look and make it stand out from the background. In this blog post, we will show you how to outline text in Cricut Design Space.

Introduce the topic of outlining text in Cricut Design Space

Cricut Design Space is a great way to make professional-looking crafts, gifts, and home decor. One of the features that make Cricut Design Space so versatile is the ability to outline text. This can be done with any font, and it’s a great way to add a personal touch to your projects. To outline text in Cricut Design Space, simply select the text tool and then click on the “Outline” button. This will convert your text into a vector image that can be resized and scaled without losing quality. You can then cut the outline out of paper, vinyl, or other materials using your Cricut cutting machine. Outlining text is a great way to add visual interest to your projects, and it’s easy to do in Cricut Design Space.

Show how to outline text using the basic tools in Cricut Design Space

One of the great things you can do with your Cricut machine is cut out text from a variety of materials. This is a handy skill to have when you want to make signs, banners, or other projects that require lettering. You can use the basic tools in Cricut Design Space to create an outline around your text. First, choose the font you want to use and enter the text into a text box. Next, select the “Outline” button in the upper left-hand corner of the screen. This will convert your text into a black outline. You can then adjust the thickness of the outline by clicking on the “Line” button and choosing a width. Finally, click on the “Send to Cricut” button in the bottom right-hand corner to cut out your text. With just a few simple steps, you can add professional-looking lettering to all your Cricut projects.

Tips for getting the best results when outlining text

If you’re new to using a Cricut machine, the process of outlining text can seem daunting. But with a little practice, you’ll be a pro in no time! Here are a few tips to help you get started:

  1. When choosing your font, make sure to pick one that is simple and easy to read. Outlining a complex font can be tricky, so it’s best to stick with something basic at first.
  2. Experiment with different thicknesses of outline. A thicker outline will be more visible, while a thinner outline will be more subtle. Ultimately, it’s up to you to decide what looks best.
  3. Pay attention to the direction of your text. Some fonts look better when the outline is applied from top to bottom, while others look better when the outline is applied from left to right. Again, it’s all about experimentation!

With these tips in mind, you’ll be able to create beautiful outlined text in no time. So get creative and have fun!

Steps for outlining text in Cricut Design Space

When you’re ready to start creating your design, the first thing you’ll need to do is outline the text. This is a simple process that only requires a few steps:

First, select the text tool and type out your message.

Next, click on the “attach” button in the bottom right-hand corner. This will ensure that all of the letters stay together as one image.

Finally, click on the “outline” button. This will turn your text into a series of connected lines that can be cut out by your Cricut machine.

Once you’ve completed these steps, your text is ready to be cut! You can now continue with the rest of your design.

Cricut Deluxe Paper, Alice In Wonderland
9.7
  • 12 sheets (6 patterns, 2 each) 12" x 12" (30.5 cm x 30.5 cm)
  • Fun to mix and match for one-of-a-kind projects
  • Ideal for making cards, scrapbook pages, party and bedroom decor, and much more
  • For all Cricut cutting machines
Cricut Star Wars It's Your Destiny Deluxe Paper
9.5
  • Paper CraftsDELUXE PAPER SAMPLER YOUR DESTN
  • 1 Pack
Cricut 2004336 Vinyl Value Pack, 40 Sheets
9.1
  • Strong and removable: Our one of a kind removable adhesive vinyl can be easily applied to a wide variety of base materials. Better still, you can remove it without residue, making it the perfect material for decals, labels, and wall decor
  • Alluring colors: This sampler includes 40 sheets. You can also find more fantastic color combinations from the Cricut. Layer up to 3 colors to add colorful, decorative flair to your art project

FAQs about how to outline text in Cricut Design Space

When you’re working on a Cricut Design Space project, you may want to outline some of the text to make it stand out. But how do you do that? Here are some answers to common questions about outlining text in Cricut Design Space:

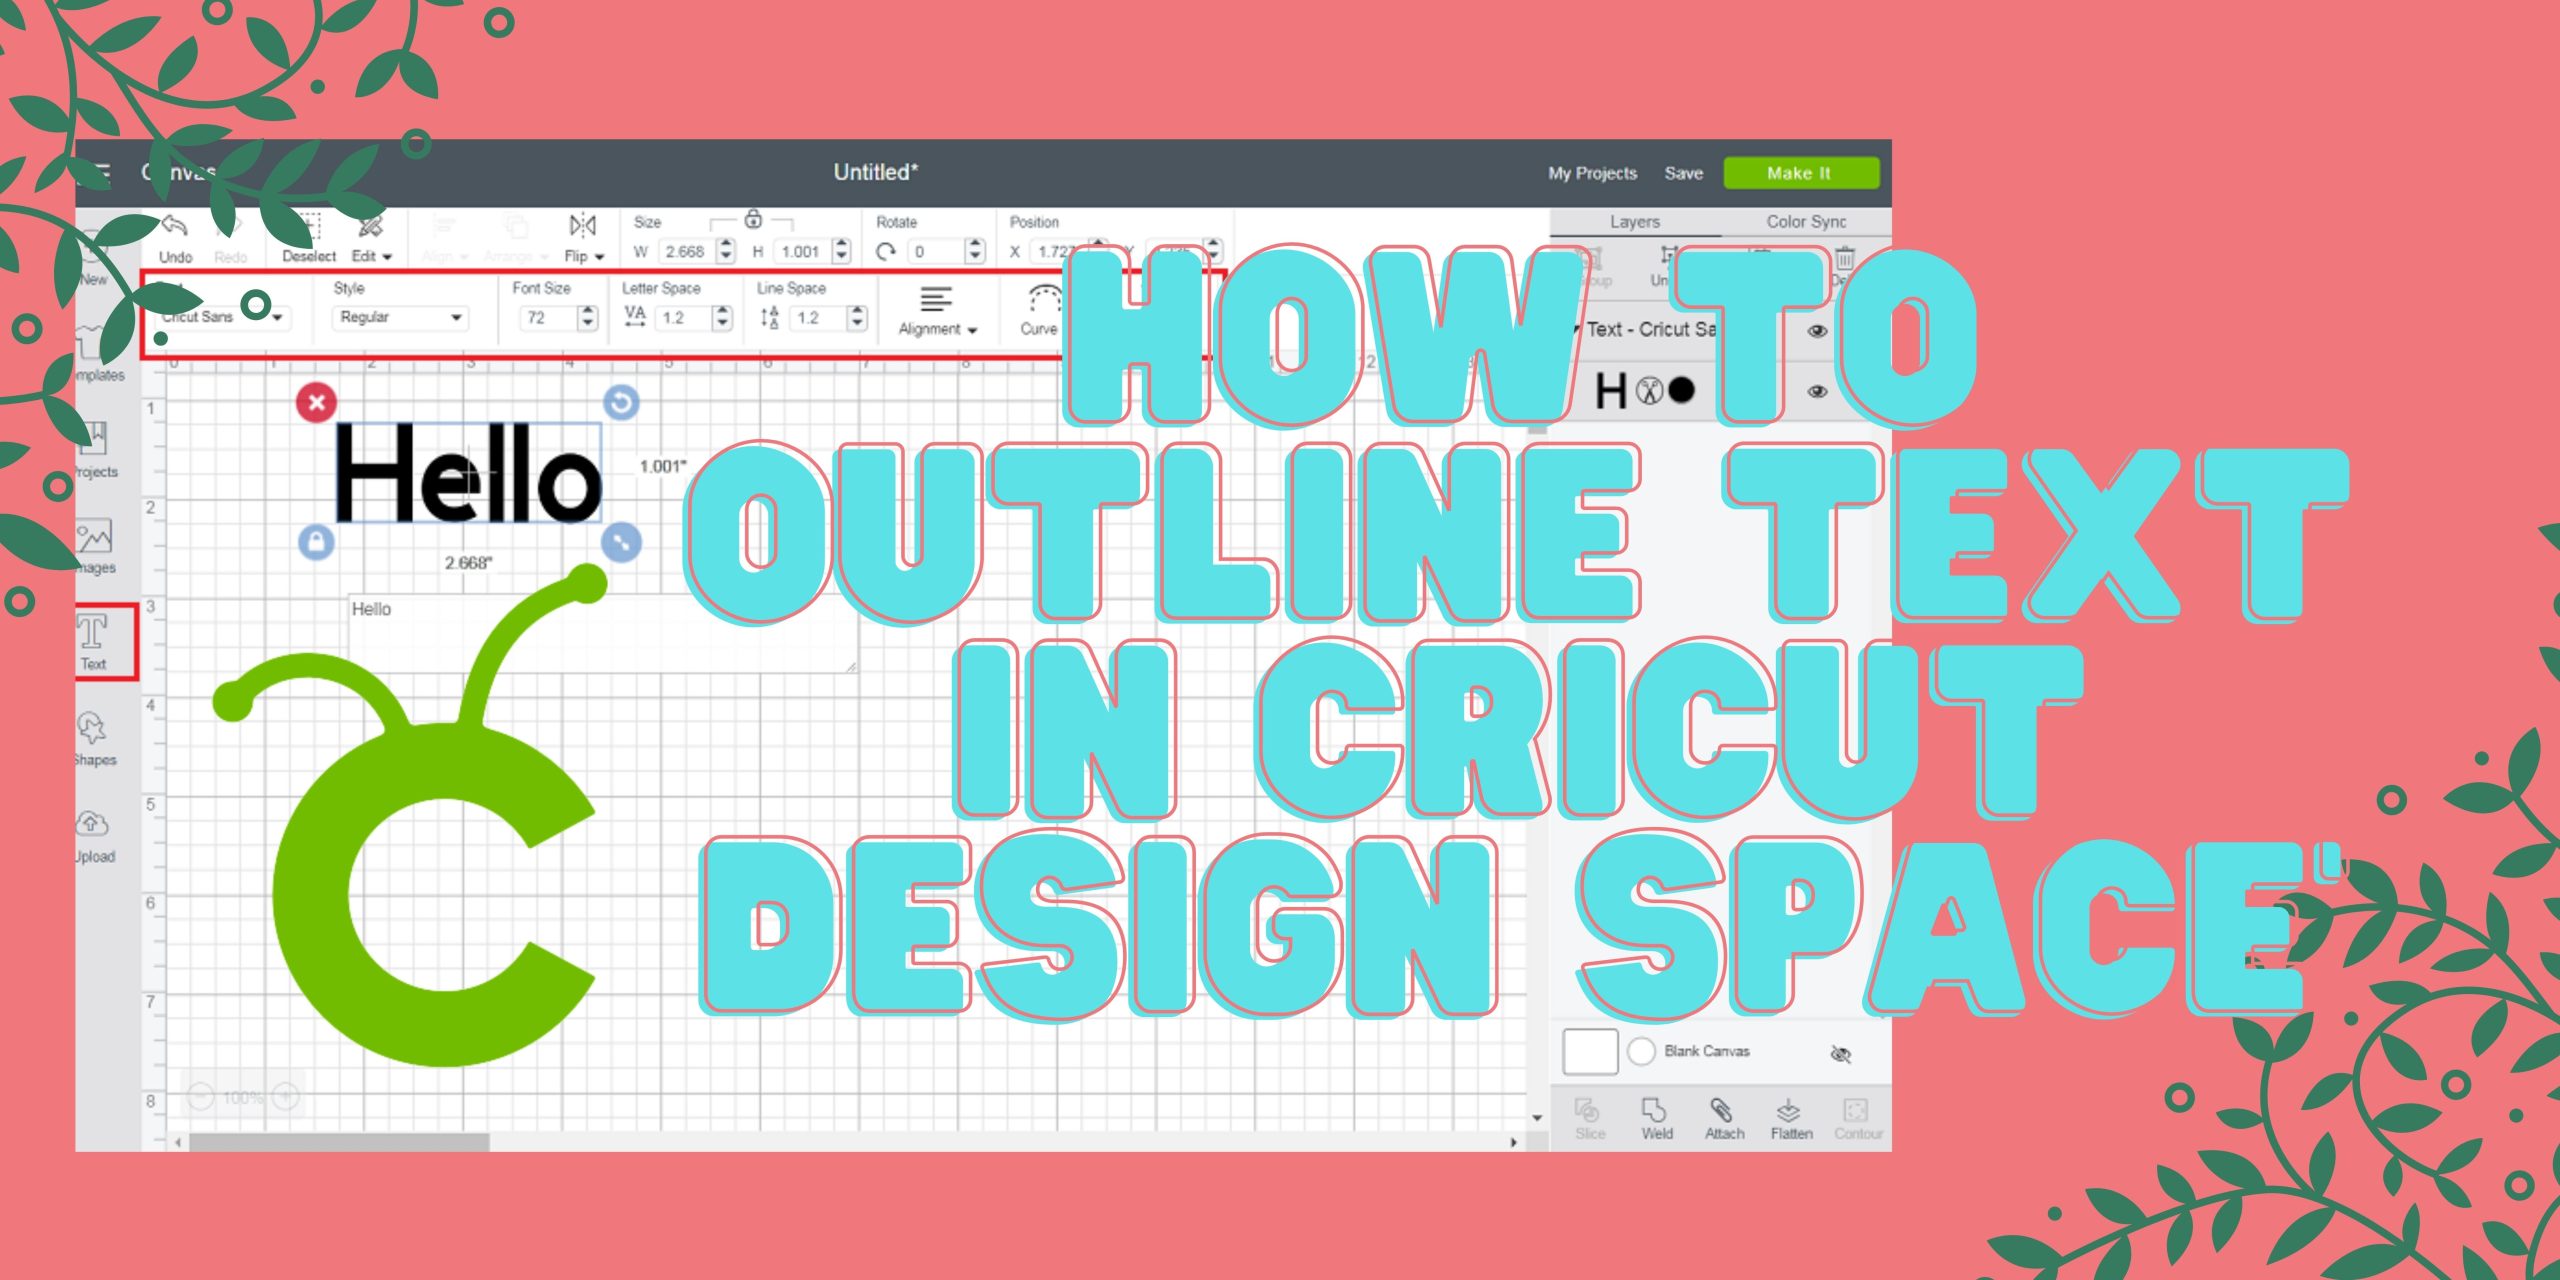
What’s the best way to create an outline around my text?

There are a few different ways to create an outline around text in Cricut Design Space. One way is to use the Contour tool. To do this, select the text that you want to outline, then click on the Contour tool in the bottom left corner of the screen. Another way to create an outline is to use the Offset tool. To do this, select the text that you want to outline, then click on the Offset tool in the top toolbar. Finally, you can also use the weld tool to create an outline. To do this, select the text that you want to outline, then click on the weld tool in the top toolbar.

Can I change the color of my text after I’ve created an outline?

Yes, you can! To do this, simply select the text with thecontour or offset still applied, then click on the fill color in the top toolbar. This will open up a color palette where you can choose the new color for your text.

I’m having trouble cutting out my text after I’ve created an outline. What should I do?

If you’re having trouble cutting out your text, it’s likely that the lines are too close together. To fix this, simply select the text and click on the expand button in the bottom right corner of the screen. This will increase the space between the lines, making it easier for your Cricut machine to cut them out.

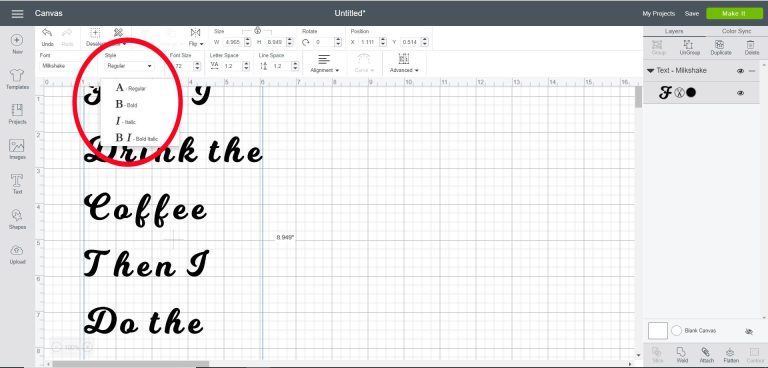
Can I use any font when outlining text?

Yes! You can use any font when outlining text. However, we recommend sticking with a simple font for your first few projects.

Do I need to attach the letters before I outline them?

Yes, it’s important to attach the letters before you outline them. This will ensure that they stay together as one image.

Can I resize my text after I’ve outlined it?

Yes, you can resize your text after you’ve outlined it. Simply click on the “resize” button in the upper left-hand corner of the screen.

Conclusion

In conclusion, outlining text is a great way to make your project look more polished and professional. It’s also an easy way to add some extra detail and visual interest to your projects. We hope you found this tutorial helpful! If you have any questions, feel free to reach out to us in the Cricut Design Space community forums or on our social media channels. Have fun creating beautiful projects with your Cricut machine!