Are you about to paint your walls but don’t know how to sand them first? Don’t worry, because we’re here to help! In this blog post, we will walk you through the entire process of sanding walls before painting. It includes discussing the different types of sandpaper that you can use and the best way to hold the sandpaper when you’re sanding. We’ll also talk about avoiding creating swirl marks when you’re filing. By following our tips, you’ll be able to achieve a smooth surface that is ready for paint!
What Is Sanding?
Sanding is the process of smoothing down a rough surface. It’s often used to prep a surface for painting or staining, but it can also give a piece of furniture a new look. Sanding is pretty straightforward – you need some sandpaper and a little elbow grease. Coarse-grit sandpaper is best for removing significant imperfections, while fine-grit sandpaper is suitable for finishing up. You’ll want to start with the coarse-grit paper and then move to the finer one. Go slowly and evenly, and don’t apply too much pressure. Sanding can be time-consuming, but it’s usually worth it.
What are the benefits of Sanding?
Sanding is an essential step in any woodworking or finishing project. By removing the top layers of wood, Sanding reveals a smooth surface ready to be stained, varnished, or painted. In addition, Sanding helps remove any imperfections, such as dents or scratches, present in the wood. As a result, Sanding is essential for achieving a professional-looking finish. In addition to preparing the surface of the wood, Sanding also has several other benefits. For instance, it can help to improve the appearance of an older piece of furniture by removing scratches and dulling the finish. You can also use Sanding to remove paint or varnish from a piece of wood.
What are the materials needed for sanding the walls?
Sanding the walls is a necessary step in any painting project. The goal of Sanding is to create a smooth surface for the paint to adhere to. It also helps remove any old paint, creating a problem for new paint. There are a few things you’ll need to sand your walls effectively: sandpaper, a putty knife, and a dustpan. Sandpaper comes in different grits, so you’ll want to choose the right one for your project. A higher grit will be needed for more delicate work, while can use a lower grit for more heavy-duty Sanding. A putty knife will come in handy to remove any old paint or wallpaper stuck to the wall. And finally, I will need a dustpan to collect all the debris created by Sanding.
How to Sand Walls Before Painting
Remove all furniture and other objects from the room.
Most people don’t realize that sanding a wall is a big project. You have to move all the furniture out of the way, but you also have to protect the floors and any other surfaces that the process might damage. In addition, it’s essential to make sure that the wall is completely smooth before starting to sand. Otherwise, you’ll end up with a lot of dust and debris, which can be dangerous to breathe in. So if you’re planning on sanding a wall, make sure you do it right and remove all furniture and other objects from the room first.
Vacuum or sweep the floors to get rid of any dust or debris
Whenever you clean your house, it’s important to vacuum or sweep the floors to get rid of any dust or debris. This way, you won’t have to worry about tracking dirt and grime through the rest of your home. It’ll be much easier to clean the floors if they’re free of dirt or debris. Vacuuming is usually the best option for getting rid of all the dirt and debris, but if you have a lot of carpeting, you may want to use a broom to ensure you don’t miss anything. Whichever way you choose to clean your floors, ensure that you get rid of all the dirt and debris so that your house stays clean.
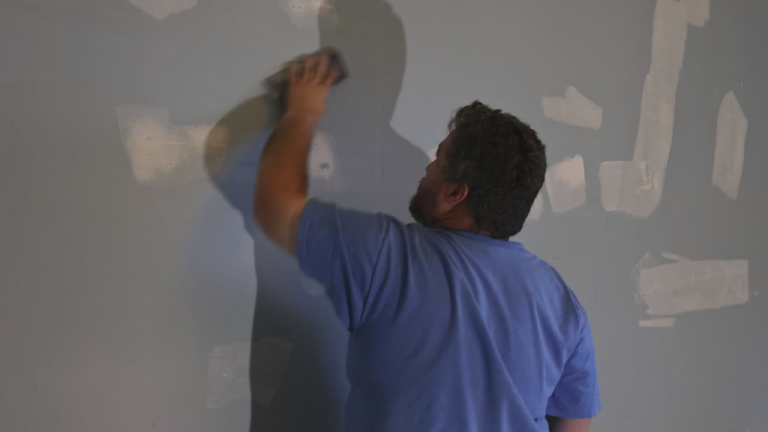
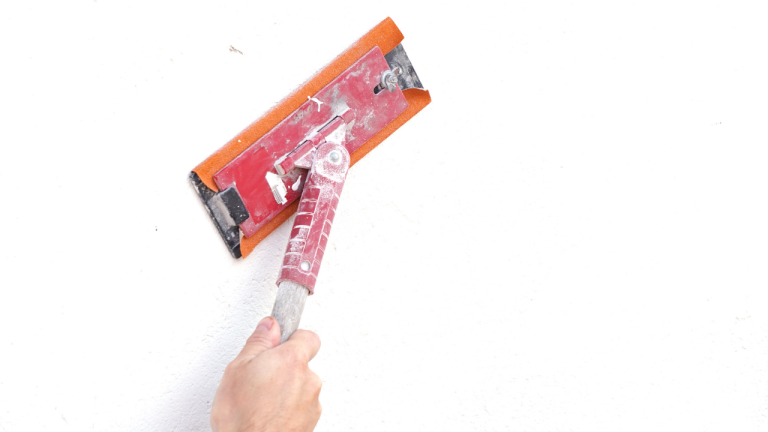
Sand the walls lightly to remove any peeling paint or stains
If your walls are starting to look a little worse for wear, it might be time to give them a fresh coat of paint. But before you start painting, you’ll need to do some prep work. One of the most critical steps is to sand the walls lightly to remove any peeling paint or stains. It will help create a smooth surface for the new paint to adhere to. You can use a sanding block or an electric sander for this job. Just make sure to go slowly and evenly, so you don’t damage the wall.
Wipe down the walls with a damp cloth to remove any sanding residue
After sanding your walls, it’s important to wipe them down with a damp cloth to remove any residue. Otherwise, your paint won’t adhere properly, and you’ll have an uneven finish. Just make sure to use a mild detergent and warm water, so you don’t damage the paint. A quick wipe-down is all it takes to remove any sanding residue and prepare your walls for painting.
Apply primer to the walls and let dry completely
Applying primer to the walls is an essential step in painting. Primer helps to provide a smooth surface for the paint to adhere to, and it also helps conceal any imperfections in the wall. Letting the primer dry completely before applying paint is also important. If the primer is still wet, the color will not adhere properly and likely result in a poor finish. Allowing the primer to dry thoroughly will help ensure that the paint job looks its best.
Paint the walls with your desired color and let dry completely
Now that you’ve picked out the perfect color for your walls, it’s time to get started on the painting process! Whether you’re painting one room or the whole house, there are a few things you’ll need to do to ensure a smooth and successful experience. First, remove any furniture or decor from the room that you don’t want to get paint on. Next, use painters’ tape to mask areas you don’t want to paint, such as baseboards or molding. Once you’ve done that, it’s time to start painting! Be sure to use long, even strokes and take your time – rushing will only result in a sloppy paint job. Finally, let the paint dry completely before moving any furniture back into the room or adding new decor. Allowing the paint to dry thoroughly will help ensure that your walls look their best.
One of the most critical steps in painting is creating a smooth surface to work on. Sanding the wall before painting will help create an even base and ensure that the paint adheres properly. However, sanding can be a tricky task, and it’s essential to know how to do it correctly. Here are a few frequently asked questions that will help you get started:

- 24 Pcs sandpaper + 1 Hand Sander, 9x3.6 Inch Sanding Sheets
- Durable&Tough: Made of silicon carbide abrasives for longer life; electro coated technology make grit distributed evenly; flexible lightweight paper backing seldom fall apart, tear or break up during using
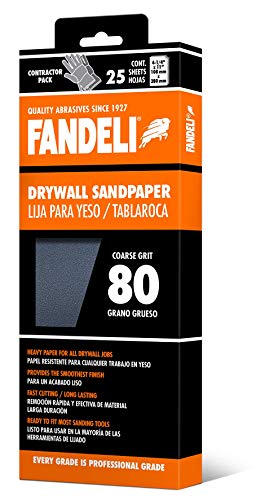
- Heavy paper designed for drywall applications
- Provides a very smooth finish
- Very Fast cutting
- Very Long Lasting
- Ready to Fit Most Sanding Tools

- General purpose sandpaper
- Aluminum oxide mineral
- Sands paint, wood, or metal
- Follow the grain of the wood when sanding
- Skip no more than one grit in sanding sequence
- Assorted Grit
What type of sandpaper should I use?
Generally speaking, you’ll want to use medium-grit sandpaper for most walls. If the wall is exceptionally smooth, you can use fine-grit sandpaper. For more textured walls, coarse-grit sandpaper may be necessary.
How long should I sand the wall?
The amount of time you’ll need to spend sanding your walls depends on a few factors, such as the type of paint you’re using and the condition of the wall. If you’re using latex paint, you’ll only need to sand the surface to help the new paint adhere lightly. However, if you’re using oil-based paint, you’ll need to spend more time honing to remove any lingering residue. Additionally, if your walls are in good condition, you won’t need to spend as much time honing them as you would if there were cracks or other imperfections that required special attention. In general, though, you should plan on spending at least an hour sanding your walls before painting.
What type of primer should I use on walls?
When it comes to painting your walls, there are a few things you need to take into consideration. One of the most important is what type of primer to use. There are different types of primers available, and each one has its advantages and disadvantages. For example, latex-based primers are good at sealing porous surfaces, but they can be challenging to work with. On the other hand, oil-based primers provide a smooth surface for the paint to adhere to, but they can be dangerous to use and produce strong fumes. Ultimately, the best primer for you will depend on the type of surface you’re working with and your personal preferences. So do some research and experiment until you find the perfect primer for your project.
Conclusion
So, there you have it! Everything you need to know about sanding walls before painting. You can ensure a smooth, flawless finish on your paint job by following these simple steps. Have any questions? Leave them in the message section, and we’ll be happy to help!


